How to setup an Office365 email on iOS
NOTE: There is now an updated guide to setup Office365 using the OWA App. Click Here for instructions.
1) To setup an Office365 email account on an Apple device, open the “Settings” app

2) From the menu on the left hand side, select “Mail, Contacts, Calendars“

3) Select “Add Account” from the sub menu on the right hand side.

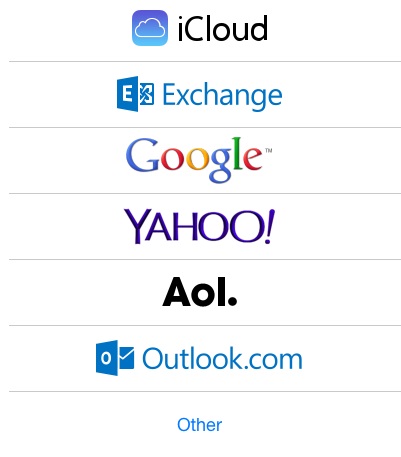
4) Next you will be presented with a list of various email hosts. It’s a common assumption to select “Outlook.com” at this point, however, select “Other“.
5) Select “Add Mail Account“

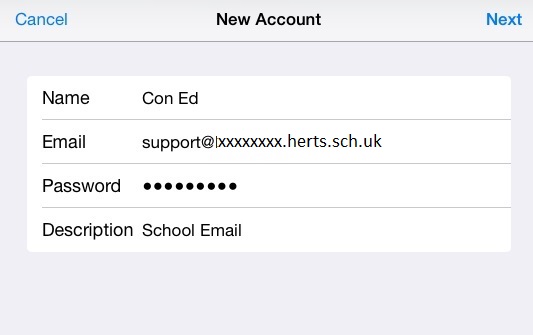
6) Now you can fill in some basic email information. The “Name” field is your name, and the “Description” field can be called anything e.g “My School Email”. Once these are filled in, tap “Next” in the top right corner.
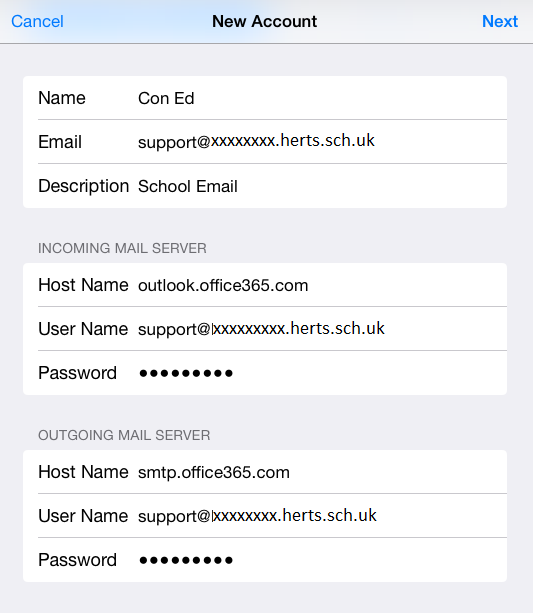
7) The next screen requires a little more information.
- Incoming Mail Server – Host Name: outlook.office365.com
- Outgoing Mail Server – Host Name: smtp.office365.com
The “Username” and “Password” fields should be filled in using your email credentials. Once completed, tap “Next” in the top right corner.
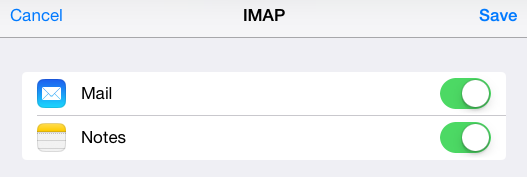
8) If everything has been entered correctly, the account should get verified after a few seconds and you will be presented with the screen below. Tap “Save” in the top right corner – your Office365 email is now setup on your Apple device.