
Microsoft Teams is an online platform which can be used to facilitate communication (including video conferencing) within your school. If your school uses Google’s G-Suite, please see our guide on Google Meet.
On this platform, you can work directly with other people, or organise your school into teams. A team might be a class, a group of staff, or any other way you might like to categorise the people who use the platform. Please note, that one person can be a member of many teams, so a teacher might be part of a class team and a teaching staff team.
Simply log into Teams using your Office 365 email account to start accessing and communicating with your school.
To create a new team, select “Teams” from the panel on the left. At the bottom on the panel that opens up, you can click on “Join or create a team” to start making a new team.
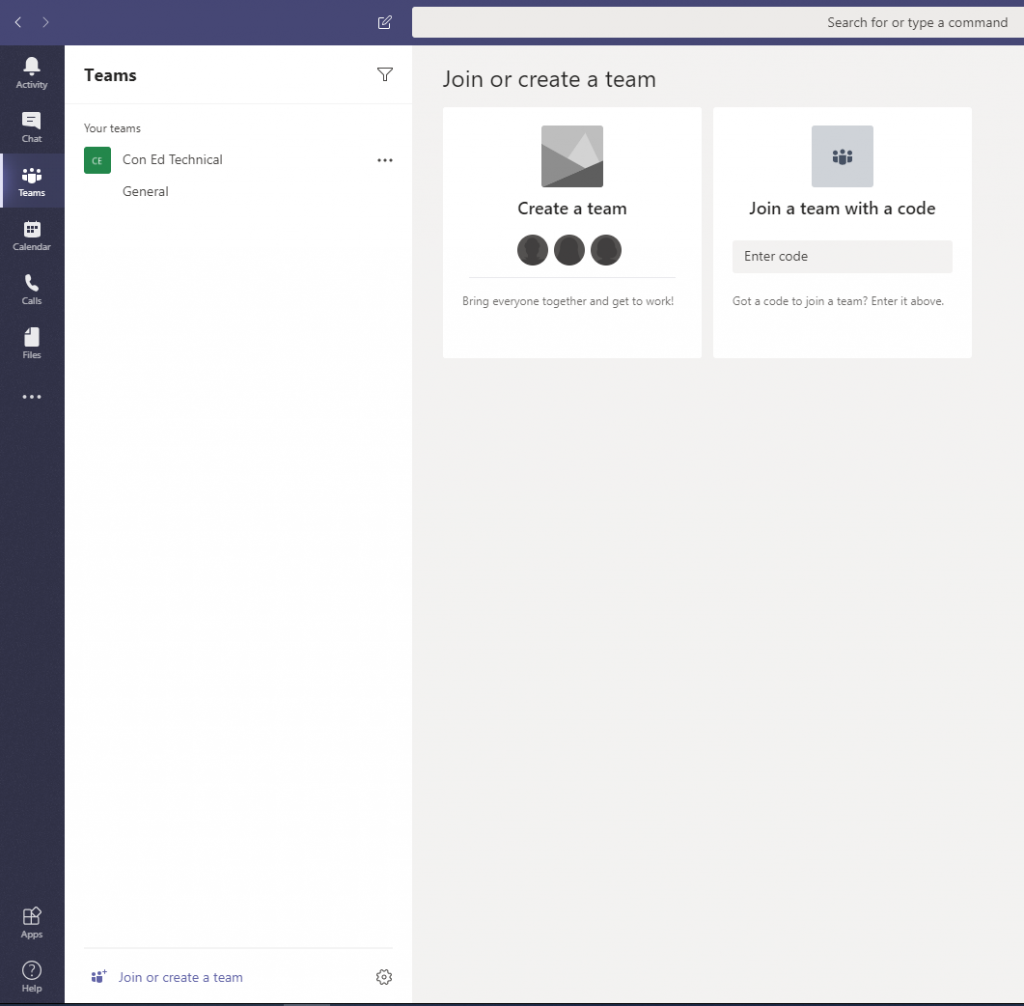
If you have an existing Office 365 group, you can turn it into a team by selecting “Create from…” and then “Office 365 group”. Otherwise, choose “Build a team from scratch”. Choose “Private” if you intend to invite people to the team, or choose “Public” if anyone in your school should be able to find and join the team.
Now that you have a team set up, you can create meetings for them to join, share files, or start a team conversation. To schedule a meeting, go to “Calendar” and choose “New Meeting”. You can invite people to the meeting individually, or you can find the team in the “Add Channel” section to make the meeting accessible to the whole team. When users/groups are added as attendees to the meeting, they will receive an email notification with an invitation link.
Once you are in the meeting, you will see this screen:
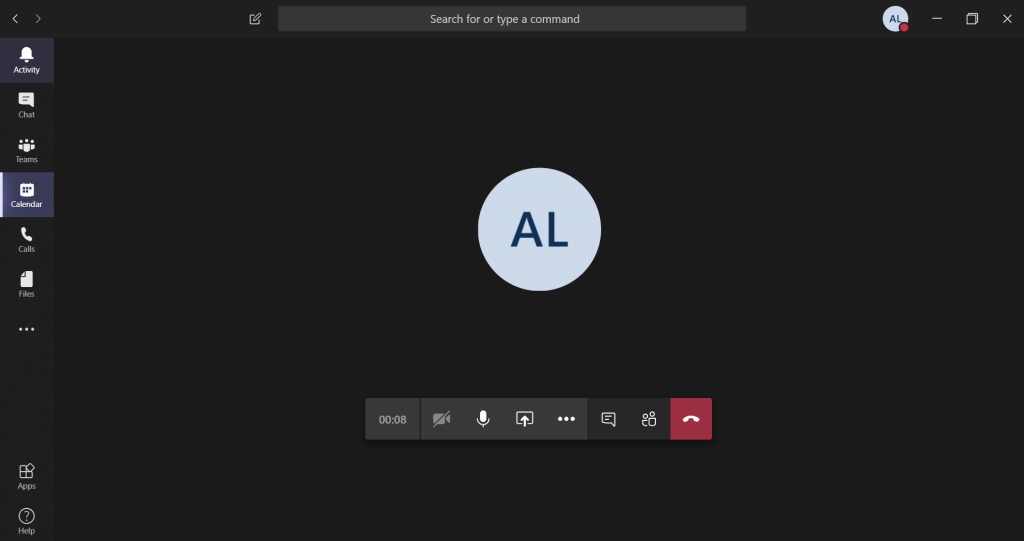
When other people join the meeting, you will be able to see them in the People pane. Using the controls on the bottom of the screen, you can turn your video on and off, mute and un-mute your microphone, share content and start a text conversation.
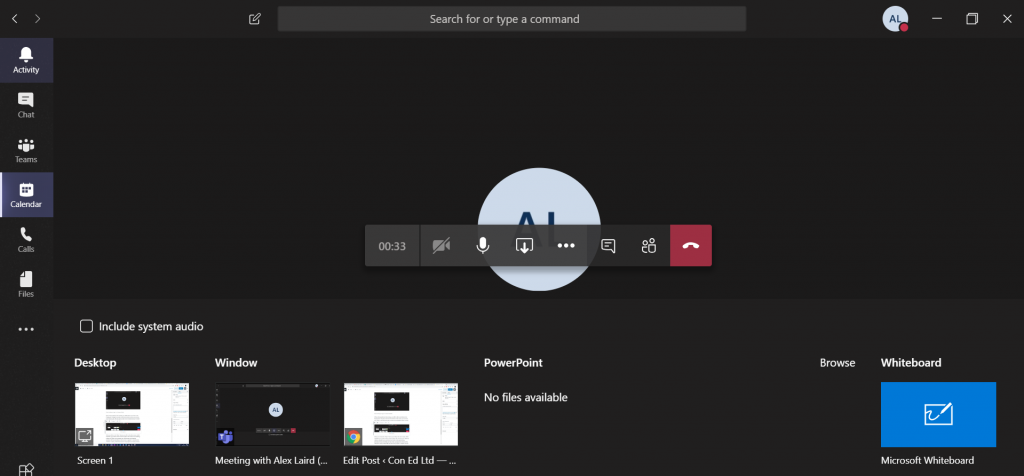
When you click on the “Share” button, you will see the above menu, which will allow you to select which content to share. The screens in the “Desktop” column, will allow you to present your whole screen, and meeting attendees will see everything on that screen, as opposed to screens in the “Window” column, which will only show one program or window, even if you switch to a different one on your computer. Next is PowerPoint, where you can present an open presentation, or browse for one to open. Finally is Whiteboard, a collaborative screen, where you can write or draw freehand.