
RM Unify – SSL Connect Guide for Windows
This how-to guide explains the process of connecting to RM Unify’s VPN, SSL Connect, which allows users to access their school network from any external location.
Before you start
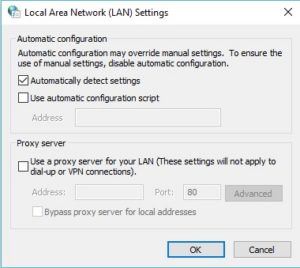
If you are using a school device from home, prior to using the SSL connect, the proxy settings on the laptop must be turned off. There are two ways to accomplish this. By clicking the ProxyPal icon which may be found on your desktop, until the message reads ‘disabled’. Alternatively, search ‘internet options’ in the start menu and click on the option as seen below.

Navigate to the ‘connections’ tab, click the ‘LAN settings’ option and make sure that both proxy server options are unticked. Confirm the changes by clicking ‘OK.
After these two requirements have been met, please continue to step 1.
Step 1
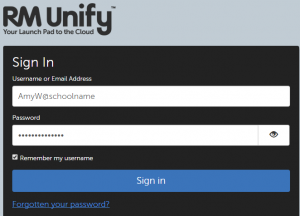
Navigate to ‘rmunify.com’, and enter the VPN login details provided by your school’s headteacher/office admin. The username must have @schoolname suffix as part of the username to sign in successfully. For example, your username may be “AmyW”, however the full VPN username is “AmyW@schoolname”. (@schoolname should be replaced with the name of your school’s RM account)
Step 2
As part of the initial sign in, there will be a prompt to enter a password recovery email address. It is advised that your school email address is used, so that you can easily reset the password if needed. Click the ‘Save’ button.

Step 3
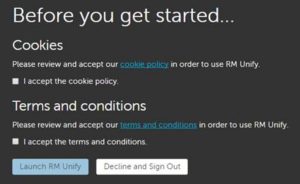
At this stage, you’ll be requested to accept RM’s cookie policy and terms and conditions. Select both tick boxes and click the ‘Launch RM Unify’ option.
Step 4
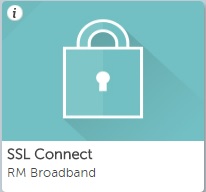
Once logged in, you will be presented with a dashboard. Click on the ‘SSL Connect’ option, as seen below.
Step 5
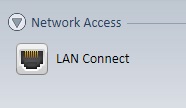
Select the “LAN Connect” button in the top left corner of your screen.
Step 6
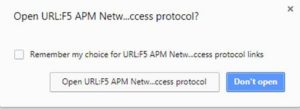
At this stage, you may be prompted to open URL’s or to accept installations. Press yes/ok/accept to any of these.
Step 7
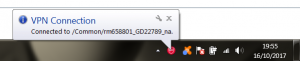
Finally, a new window will open which will attempt to connect to VPN. Once connected it will confirm this.
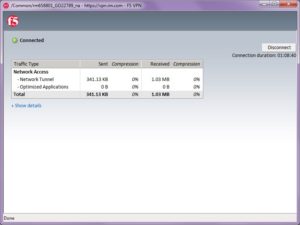
You may also get a ‘VPN Connection’ message in the bottom right hand corner of your taskbar to confirm the connection too. (If you’re asked to set your network connection, choose the ‘Work network’ option).
Step 8
At this point you are effectively able to browse to your school server as though you were back at school (click start > computer > access the network drives). For schools that have an RDS server, you can use the RDS/Homework connection on your desktop.
Step 9
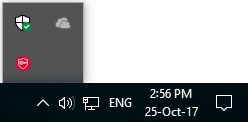
After you’ve finished using the VPN, make sure to disconnect from the session. You can do this by simply closing down the RM Unify site, or Double click on the red icon in the hidden icons area of the taskbar.
This will open a new window, which has an option to disconnect. Click on this to terminate the VPN connection.
NOTE: If you are using a school laptop, please remember to turn the proxy settings back on when you are back school.